

Using Tailwind CSS with Vite and Vanilla HTML/JavaScript - A Guide.


In this tutorial, I will show you how to install and use Tailwind CSS with Vite and Vanilla HTML/JavaScript in Windows 11
Before we begin, make sure you have Node.js installed in your system
Step 1 (Create Vite Project)
a)Open up your favorite command prompt
b) From the command prompt, navigate to the project folder and type
npm create vite@latest <your-project-name>
Step 2
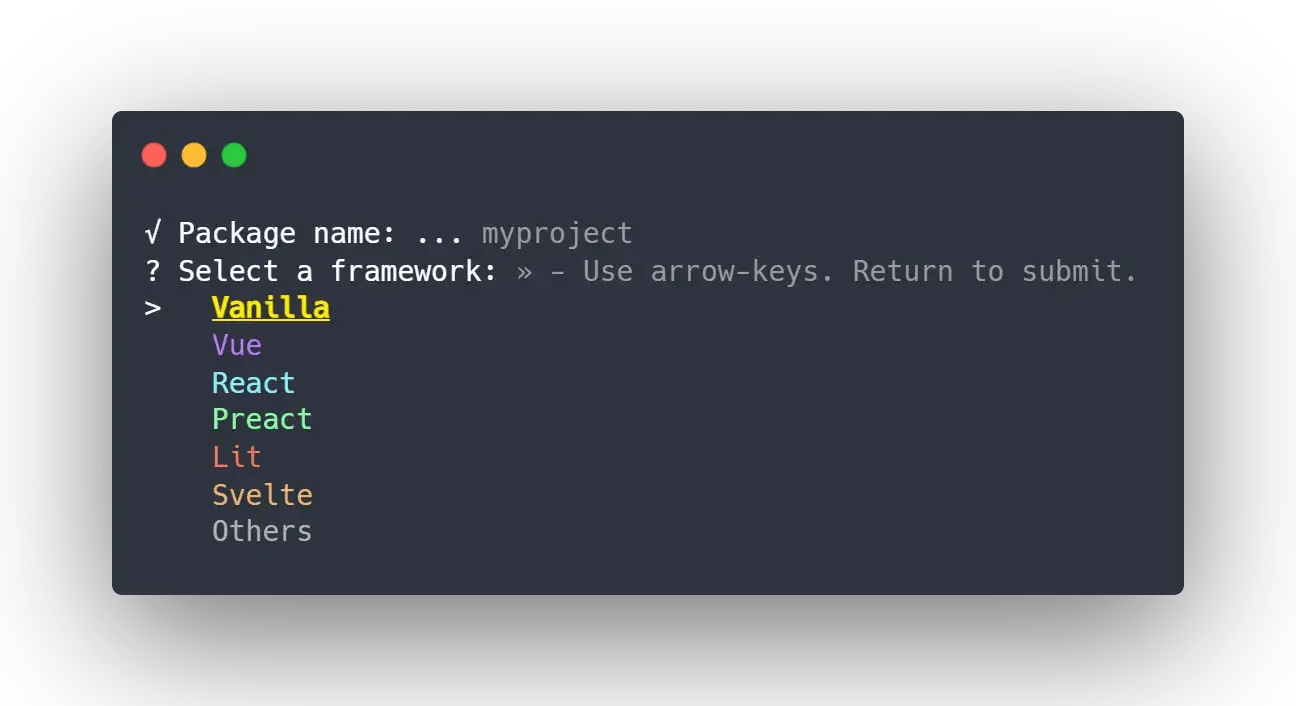
a) Create a package name or press enter to use the default package name
b) Select your favorite framework, in this case, I will go Vanilla (no framework)
Step 3
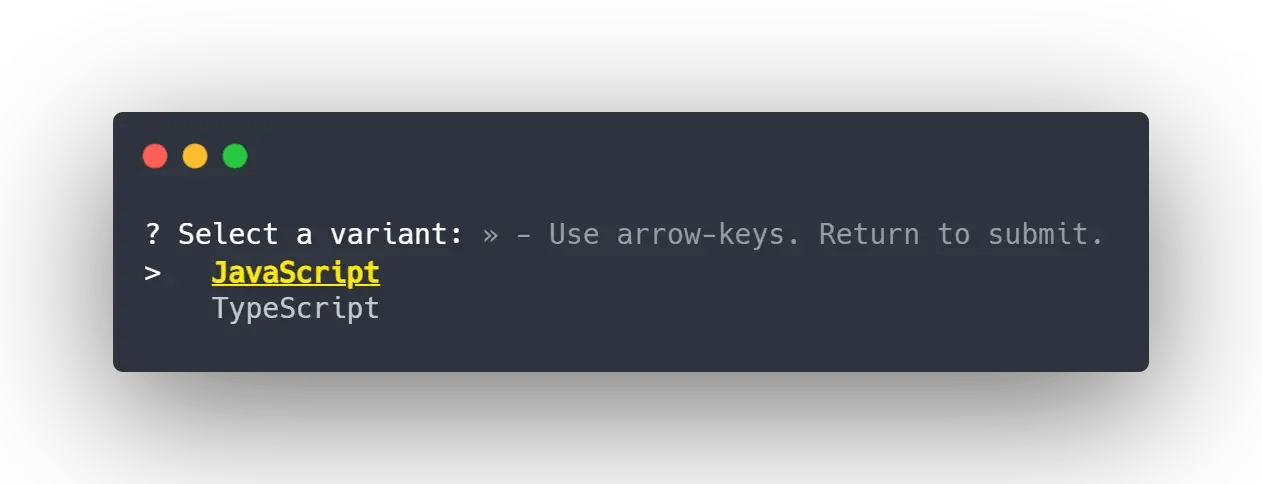
Next, select either JavaScript or TypeScript. I select JavaScript
Step 4
Don't forget to go into the newly created project folder. In the command prompt, navigate to your newly created project, like so:
cd '<path-to-your-project>'
Step 5 (Install Tailwind CSS)
Now it’s time to install Tailwind CSS.
a) Type the following command in the command prompt
npm install -D tailwindcss postcss autoprefixer
This command will install all the dependencies for your project including Tailwind CSS and its dependencies.
b) Type the following command in the command prompt to create the Tailwind CSS config files — tailwind.config.cjs and postcss.config.cjs
npx tailwindcss init -p
STEP 6 (Open project in VS Code)
Type the following command to open your newly created project in VS Code.
Code .
Or open VS Code manually and open the newly created project in VS Code.
STEP 7 (Run Project)
Now it’s time to run your project using Vite.
Type the following code in the command prompt
npm run dev
You should she the local server spinup like so:
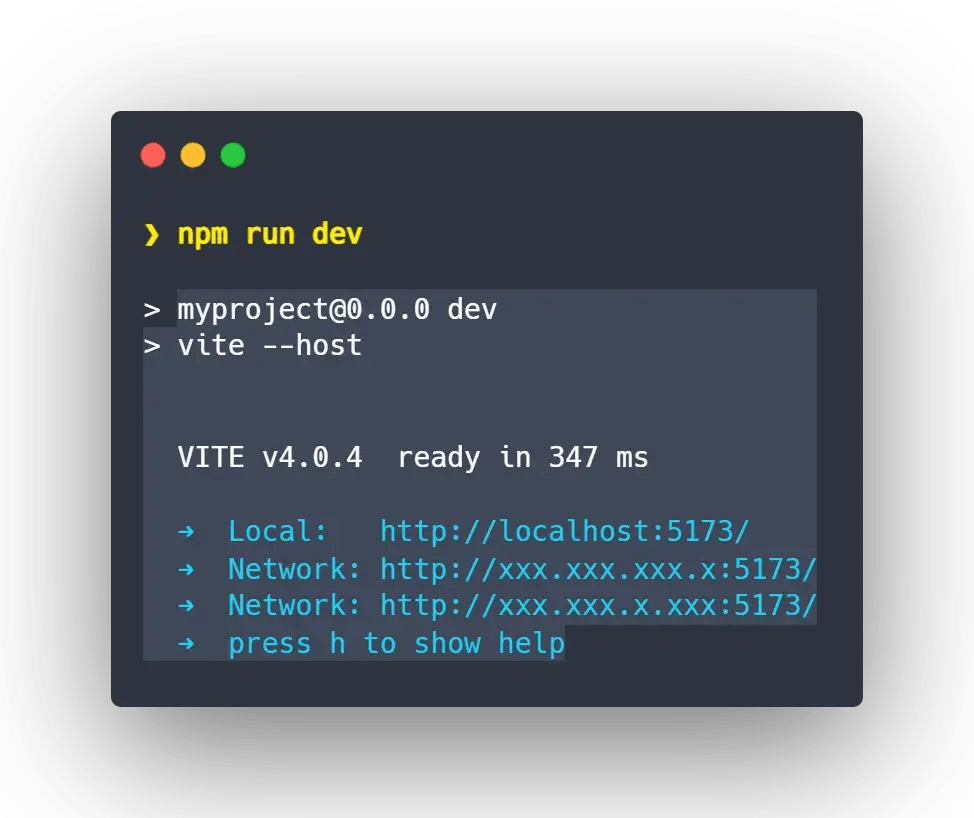
Copy the address http://localhost:5173/ to your browser and, Voila! you are all set.
(Open index.html and add some Tailwind CSS classes to check if everything is working as intended)
Hope you liked this tutorial.